Passport Photo Size in Pixels: cm, mm & Inch Chart (2026)
Passport photo size in pixels depends on DPI, not a fixed number — the exact px, mm, cm, and inch conversion chart for every common passport photo size.
You typed "413×531" into your editor's width and height boxes, downloaded the file, and uploaded it. Rejected. The portal wanted a specific physical size, not just a pixel count — and your file, at the wrong DPI, printed nothing like 35×45mm.
Passport photo size in pixels isn't a fixed number. It only means something once you attach a DPI to it — the same 35×45mm photo can be 413×531 px, 827×1063 px, or 99×127 px depending on what resolution it's tagged at. Get the pixel count right and the DPI wrong, and you've technically done nothing.
Passport Photo Size in Pixels at a Glance
Every row below is the same physical size expressed four ways, converted using pixels = (mm ÷ 25.4) × DPI:
| Size | mm | cm | Inch | Px @ 300 DPI | Px @ 600 DPI | Make one now |
|---|---|---|---|---|---|---|
| 35×45 mm (UK, Schengen, most countries) | 35×45 mm | 3.5×4.5 cm | 1.38×1.77 in | 413×531 px | 827×1063 px | Resize to 35×45mm |
| 2×2 in (US) | 50.8×50.8 mm | 5.08×5.08 cm | 2×2 in | 600×600 px | 1200×1200 px | Resize to 2×2in |
| 35×35 mm (India) | 35×35 mm | 3.5×3.5 cm | 1.38×1.38 in | 413×413 px | 827×827 px | Custom passport size |
| 3.5×4.5 cm (exam forms) | 35×45 mm | 3.5×4.5 cm | 1.38×1.77 in | 413×531 px | 827×1063 px | Resize to 3.5×4.5cm |
| 50×70 mm (large format) | 50×70 mm | 5×7 cm | 1.97×2.76 in | 591×827 px | 1181×1654 px | Custom passport size |
| 4×6 in (postcard) | 101.6×152.4 mm | 10.16×15.24 cm | 4×6 in | 1200×1800 px | 2400×3600 px | Custom passport size |
Look at rows one and four. Same physical size, different unit, identical pixel output — that's not a coincidence, it's the entire point of this chart. A form asking for "3.5×4.5 cm" and one asking for "35×45 mm" want the exact same file.
Why Are Pixels Meaningless Without DPI?
A pixel is a dot in a grid. It has no inherent physical size — how big it prints or displays depends entirely on DPI, dots per inch. A 600×600 px image is 2×2 inches at 300 DPI, but it's 8.3×8.3 inches at 72 DPI, the resolution most screenshots and web images carry by default.
Here's the misunderstanding behind most failed uploads: people treat "correct pixel dimensions" as the finish line. It isn't. A government scanner reads the file's DPI metadata, not just its pixel grid, and calculates the printed size from both numbers together. Get the pixel count right at the wrong DPI, and the photo measures wrong on paper even though the numbers in your editor looked fine.
This is also why a file can pass one portal and fail another with identical pixel dimensions. Some systems check pixels only; others check the physical size derived from pixels and DPI. You don't know which one you're dealing with, so treat both as mandatory every time.
Key takeaway: never trust pixel dimensions alone. Check the DPI tag with a tool like imresizer's DPI checker before you upload anything.
Why Is 600×600 Pixels Exactly a 2×2 Inch Photo at 300 DPI?
Because the math resolves without a remainder. Two inches times 300 dots per inch is 600 — no division, no fraction, no rounding. That's why the US passport spec (2×2 in, 600×600 px minimum at 300 DPI) is the cleanest example in this entire chart.
Compare that to 35×45mm. You first convert millimeters to inches (35 ÷ 25.4 = 1.378 in), then multiply by DPI (1.378 × 300 = 413.4), then round. Three steps and a rounding decision, versus one multiplication. Inch-based specs are simply easier to hit exactly — which is worth knowing if a form ever gives you a choice of units to enter.
It also explains why 600×600 shows up so often as a "safe" passport photo target even outside the US: it's a round number that satisfies most minimum-resolution checks with margin to spare.
Key takeaway: when a size converts to a whole number with no rounding, treat it as the reference point — 2×2 in at 300 DPI is the cleanest passport size math gets.
How Do You Convert Millimeters, Centimeters, or Inches to Pixels?
Convert to millimeters first if you're not already there, then apply one formula:
Here's the trap almost nobody flags: rounding direction matters more than people assume. 35 ÷ 25.4 × 300 = 413.38..., which rounds down to 413. But 45 ÷ 25.4 × 300 = 531.49..., which also rounds down to 531 — not up, even though it's closer to the halfway point than the first number. Round each dimension independently, using standard rounding, not by eyeballing "close enough." A tool that truncates instead of rounds will hand you 412×530, a single pixel off in each direction — usually harmless, but occasionally enough to fail an automated minimum-size check set at exactly 413×531.
Key takeaway: don't hand-round two dimensions inconsistently. Let a converter apply the same rounding rule to both, or you'll introduce a one-pixel mismatch that's invisible until a strict validator catches it.
Why Do a Portal Asking for "Pixels" and a Lab Asking for "Millimeters" Want the Same File?
Because pixels and physical size are two descriptions of one thing, not two different requirements. An online visa portal says "upload a photo at least 600×600 px" because it's validating a file. A print lab says "bring us a 2×2 inch photo" because it's producing a physical object. Both are describing the identical output — a 2×2 inch photo at 300 DPI is a 600×600 px file, full stop.
This is where the digital-file-versus-print-sheet distinction matters. imresizer generates both from one upload: a digital file sized and compressed for online submission, and a 4R print sheet laid out at true physical size for a photo lab.

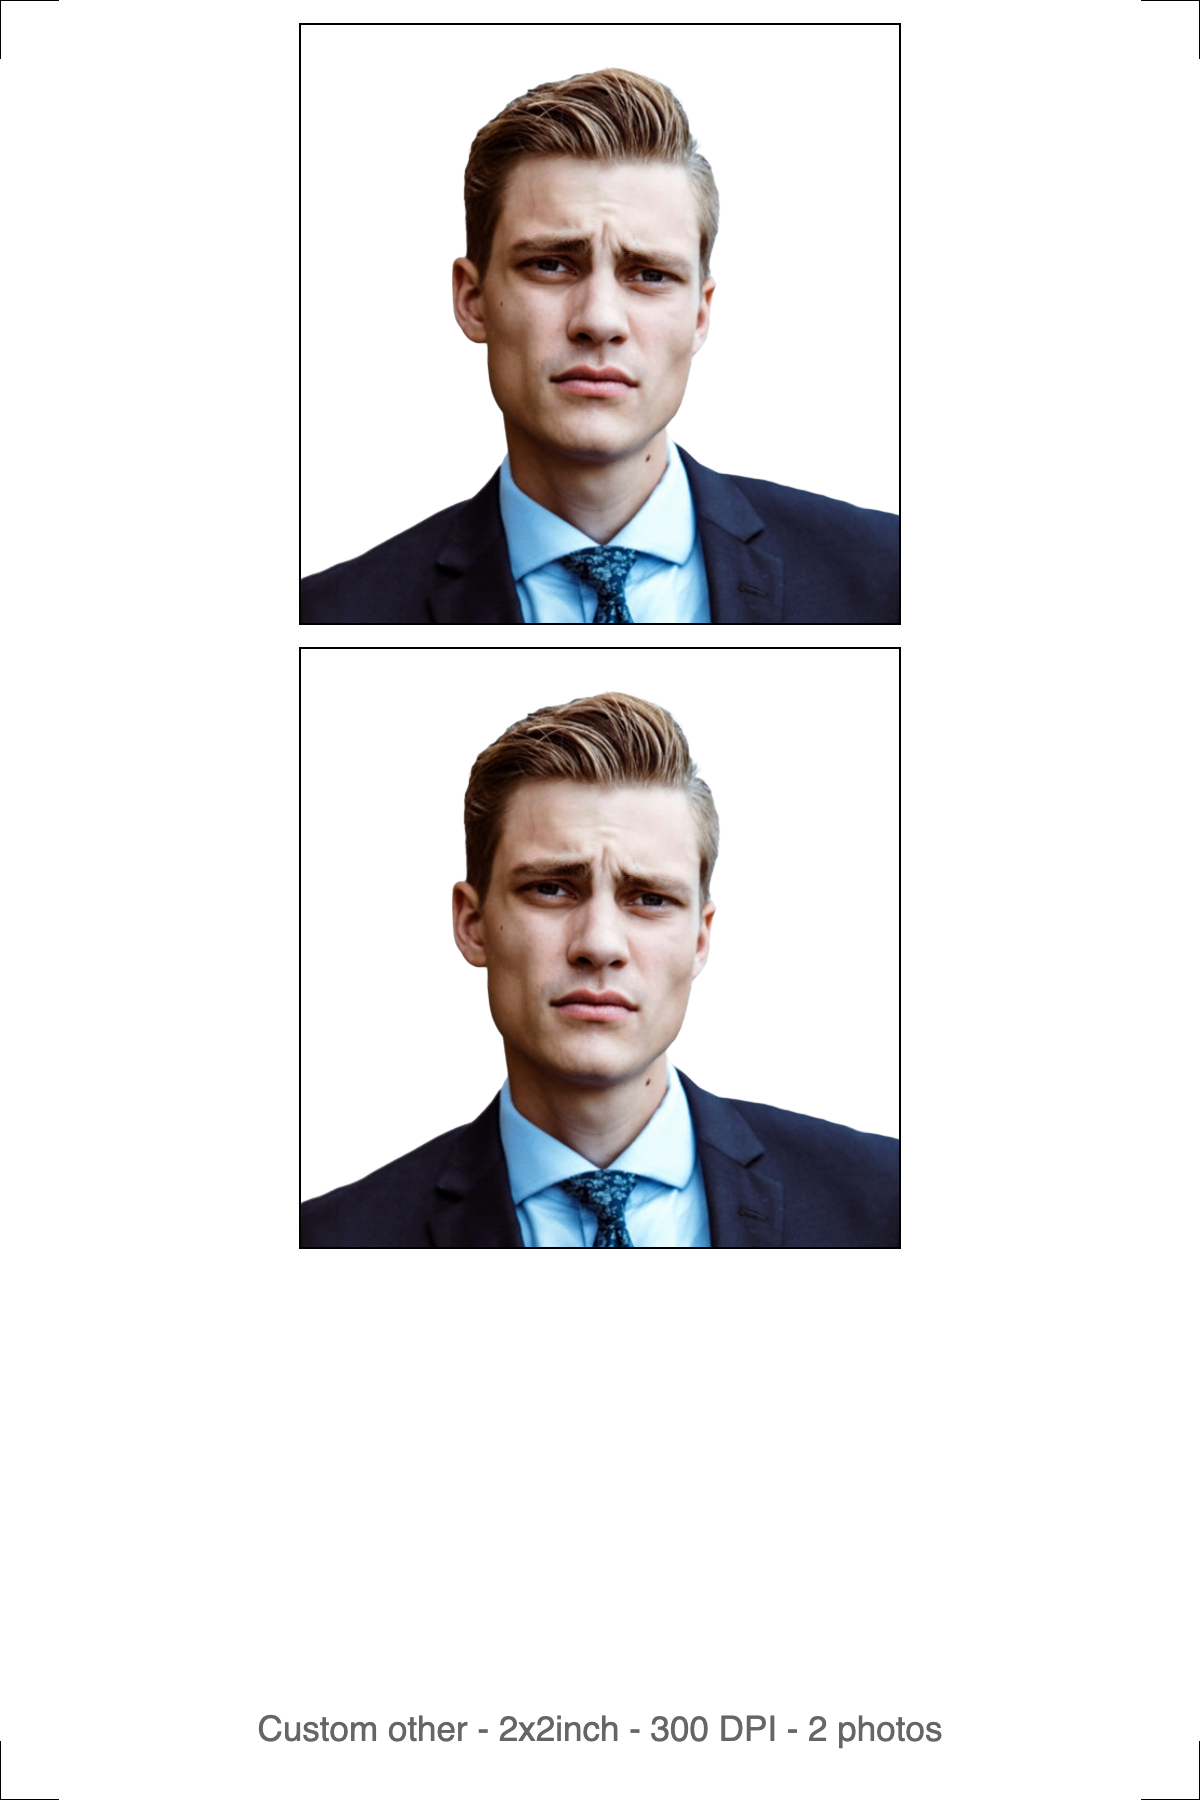
Left: the digital file, sized in pixels for a portal. Right: the print sheet, sized in millimeters for a lab — same photo, same DPI, two descriptions.
The digital file has no border, no cut marks, no margin — a portal measures your head against the photo's edges, so any extra pixel of padding throws off every measurement it checks. The print sheet is the opposite: multiple copies at true size on 4R (6×4 in) photo paper, meant to be trimmed along printed guide lines, never scaled to fit the page.
Key takeaway: don't treat "pixels" and "millimeters" as competing requirements from two different systems. They're the same file, described in the unit each system finds convenient to check.
Should You Use Automatic or Manual Mode When Resizing?
Automatic mode is the default and handles most uploads correctly: it detects your face, crops to the target ratio, removes the background, and outputs the file at the correct pixel dimensions and DPI in one pass.
Manual mode splits that into three steps you control yourself — crop first, then background removal, then download. Switch to it when automatic detection struggles, which happens most with a partially turned face, an unusual camera angle, or a baby who won't hold still for face detection to lock onto.
The toggle sits above the upload area, and you set it before uploading — it determines which processing screen you land on next, so decide up front rather than mid-upload.
Key takeaway: automatic mode gets the pixel-and-DPI math right without you touching a calculator. Reach for manual only when the subject makes automatic detection unreliable.
Can You Upscale a Small Photo to Reach the Pixel Requirement?
Technically, yes — any editor will stretch a 200×200 px image up to 600×600 px. It just won't look like a 600×600 px photo. Upscaling interpolates new pixels from the ones already there; it doesn't recover detail that was never captured. The result is a soft, sometimes blocky image that passes a pixel-count check and fails a human visual review.
This matters most with old ID photos or a low-resolution scan someone's trying to reuse. If the source is genuinely small — say, a photo pulled from an old social media profile — no amount of upscaling gets you back to something a passport office will accept. The fix is a new photo shot at the source's native resolution, not a bigger export of a small one.
Key takeaway: treat the pixel requirement as a floor set by your camera, not a target to hit after the fact with upscaling. If your original file is below the target size, retake the photo instead of stretching it.
How to Resize a Passport Photo to the Exact Pixel Size Using imresizer
- Go to imresizer.com/resize-image-to-35x45mm, or the mm/cm/inch/px tool matching your country's stated unit.
- Upload your photo — click the button or drag and drop. JPG, PNG, and WebP are all supported.
- Pick automatic or manual mode before you upload — automatic works for most photos.
- The crop is pre-set to your target pixel dimensions at 300 DPI. Adjust the frame so your face is centered.
- Download. The file carries the correct pixel dimensions with DPI metadata already embedded — no separate step needed.
If you're checking an existing photo instead of resizing a new one, imresizer.com/check-image-dpi reads the pixel dimensions and embedded DPI straight from the file. Need to change the DPI without recropping? imresizer.com/change-image-dpi does that on its own. Everything runs in your browser — your photo never leaves your device.
Key Takeaways
Free Passport & Visa Tools
Frequently Asked Questions
What is the passport photo size in pixels?
It depends on the physical size required and the DPI it's measured at. At the standard 300 DPI, a US 2×2 inch photo is 600×600 px, and the 35×45mm format used across the UK, Schengen area, and most other countries is 413×531 px. Always confirm the DPI along with the pixel count — the same pixel dimensions mean a different physical size at a different DPI.
What is 35×45mm in pixels?
At 300 DPI, 35×45mm converts to 413×531 pixels, using (mm ÷ 25.4) × DPI on each dimension. At 600 DPI the same physical size becomes 827×1063 px. At a low DPI like 72, it drops to just 99×127 px — far too small for most passport or visa portals to accept.
How many pixels is a 2×2 inch passport photo?
Exactly 600×600 pixels at 300 DPI, since inches convert to pixels with a single multiplication (2 in × 300 DPI = 600 px, no rounding). This is the US passport and visa standard, and it's square — don't confuse it with the taller 35×45mm rectangle most other countries use.
Does the pixel size of a passport photo change with DPI?
Yes, and it's the single most common point of confusion. A given pixel count only maps to one physical size at one specific DPI. A file can have the exact right pixel dimensions and still get rejected if its embedded DPI doesn't match what the portal expects — check both numbers, not just pixel width and height.
What DPI should a passport photo be?
300 DPI is the standard passport, visa, and ID photo authorities and print labs are calibrated for worldwide. A handful of digital-only portals accept lower DPI files, but 300 DPI is the safe default unless your specific application states a different number.
More Passport & Visa Guides
This guide is part of our Passport & Visa hub — tools and guides for creating compliant passport, visa, and ID photos from home.